

Use Pi-Hole to block ads for yourself & others in your network
How to have a DNS-based sinkhole for the ads (and other kinds of websites) without having to install any additional software in your laptop/computer.


Motivation
These days, the internet is full of ads and you can't read any piece of news/blog without encountering any banner/full-page ad/pesky pop-up(s). Whenever my parents read any piece of news, their experience is ruined by the sheer number of ads/targeted ads. Even though I help them by enabling "do not track" requests in their browsers and turning off any tracking across Google services, the ads don't stop (why am I, a 20-something guy, seeing an ad for back pain doctors?).
In the past, I tried to install uBlock Origin on their (and mine) phones but the moment the website detects an ad-blocker, they simply don't allow the user to continue.
I searched on the internet and found that there are ad-blockers that work at the DNS level, meaning you deploy a DNS server that essentially does not resolve the domain(s) for ad networks, giving you an ad-free experience! I found out about Pi-Hole, a solution that essentially lives alongside your network router and does the job of resolving DNS queries for you.
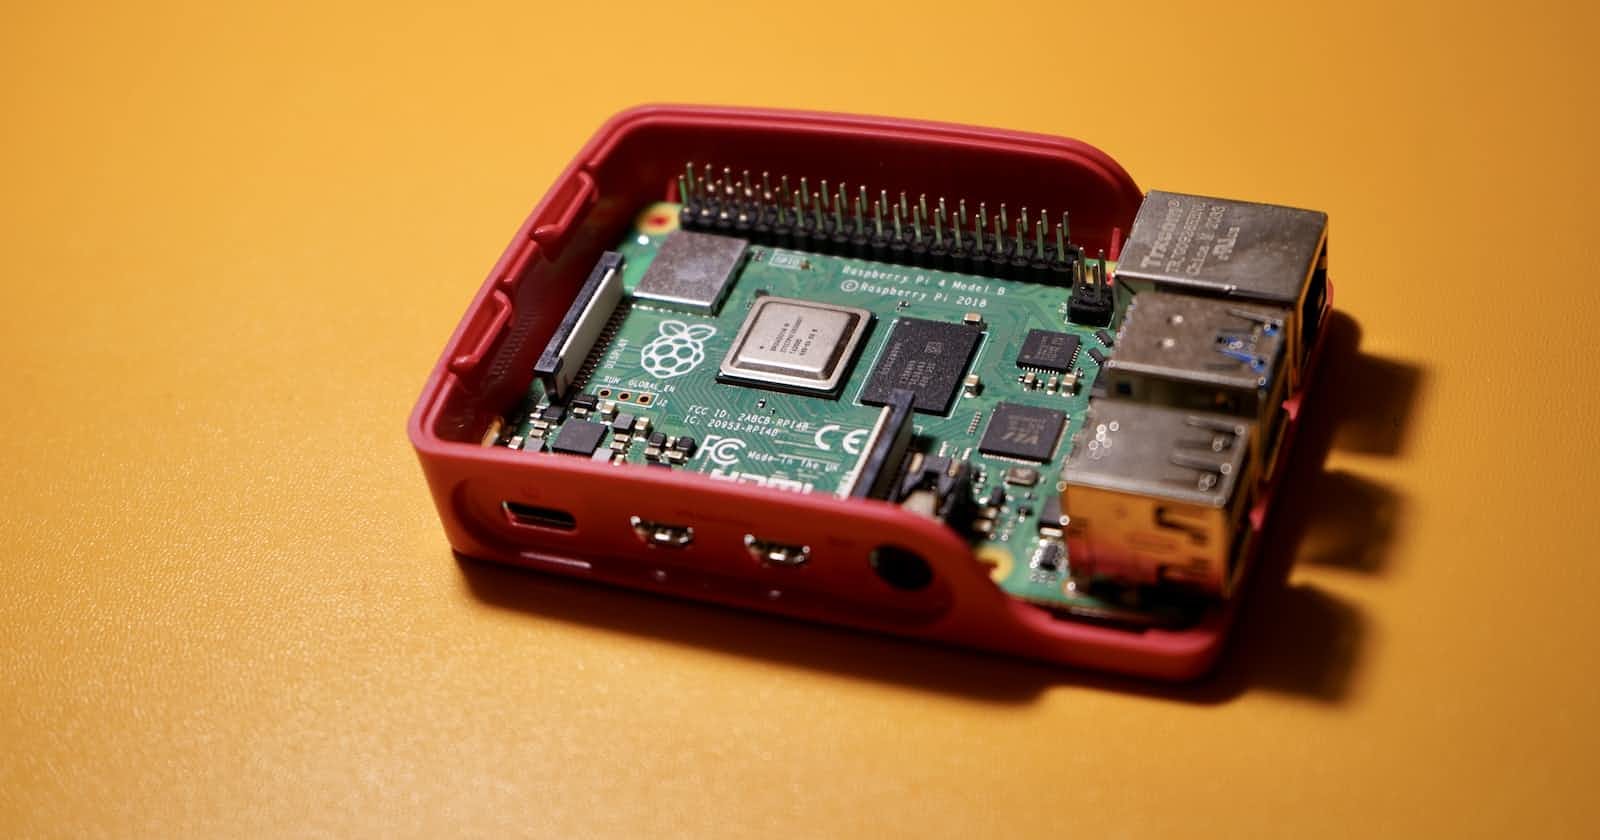
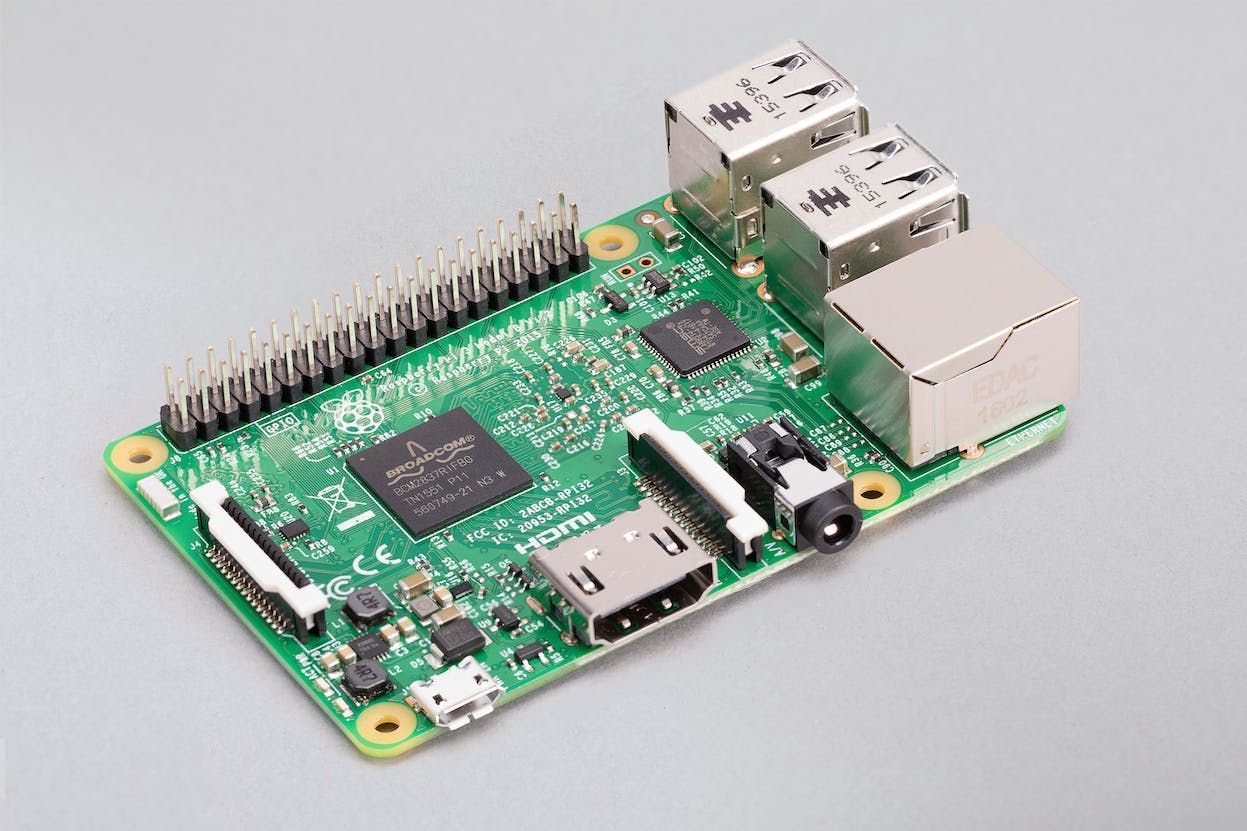
And I had my old Pi-3B lying around, so good use of my old Pi for the better good - providing me and my family with an ad-free browsing experience 😃
This article explains how I configured my Pi with Pi-hole so that you can have an ad-free browsing experience for your network(s).
High-level Steps
Following are the high-level steps you need to perform to have your own Pi-hole setup for your router:
Have the Raspberry Pi OS installed on your MicroSD card
Configure headless SSH and WiFi credentials on the OS installation without connecting a monitor/TV for setting up
Set up a static IP on your router for your Pi (with the MAC address listed in the DHCP list)
After connecting to your Pi via SSH, download and install the Pi-Hole setup.
(Optional) Enable the admin portal during the setup phase and note down the admin password post installation
Configure the DNS server at LAN (not WAN) level in your router to the Raspberry Pi static IP and reboot the router
Go to pi.hole/admin to check out your installation, block metrics etc.
Once you complete the above steps, you'll have your DNS-based ad-blocker running on your network without having to add any additional software to your machine(s).
Pi-Hole Action Flow
Here's a flow describing how Pi-Hole works and how the ads are blocked when visiting any website
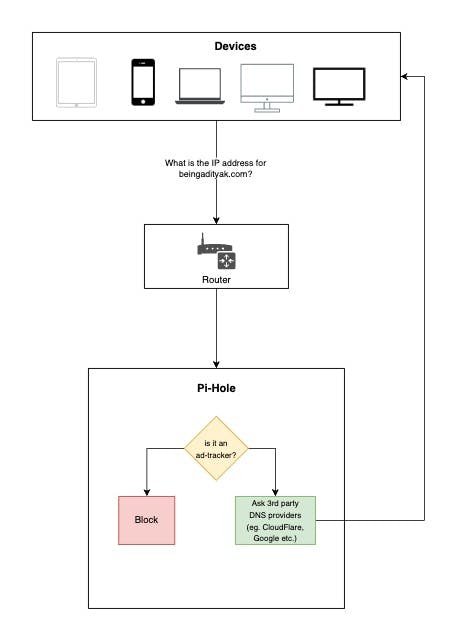
Here following steps are taking place:
The device tries to go to beingadityak.com to check out the latest blog post
The router queries Pi-Hole for resolving the DNS query for beingadityak.com
Pi-Hole checks its block list to determine whether the requested domain is part of it
If it is, then Pi-Hole resolves it to a blackhole domain (0.0.0.0) which is not resolved by the browser
If it's not, then Pi-Hole redirects the query to the DNS servers we've configured as a fallback during the time of installation (for example CloudFlare DNS 1.1.1.1)
The upstream DNS server then resolves the domain to the IP (in this case it'll be Hashnode's IP) and returns the DNS response to the client device.
Okay, enough theory. Let's get our hands dirty with the installation!
Raspberry Pi OS installation & configuration
I won't go much deep into installing Raspberry Pi OS on your MicroSD card, but here are the high-level steps:
Download the Raspberry Pi Imager for your OS (Windows, MacOS, Linux) from the official website
Have a MicroSD card reader ready to read your card and perform the installation
Insert the MicroSD card reader with the card in your machine
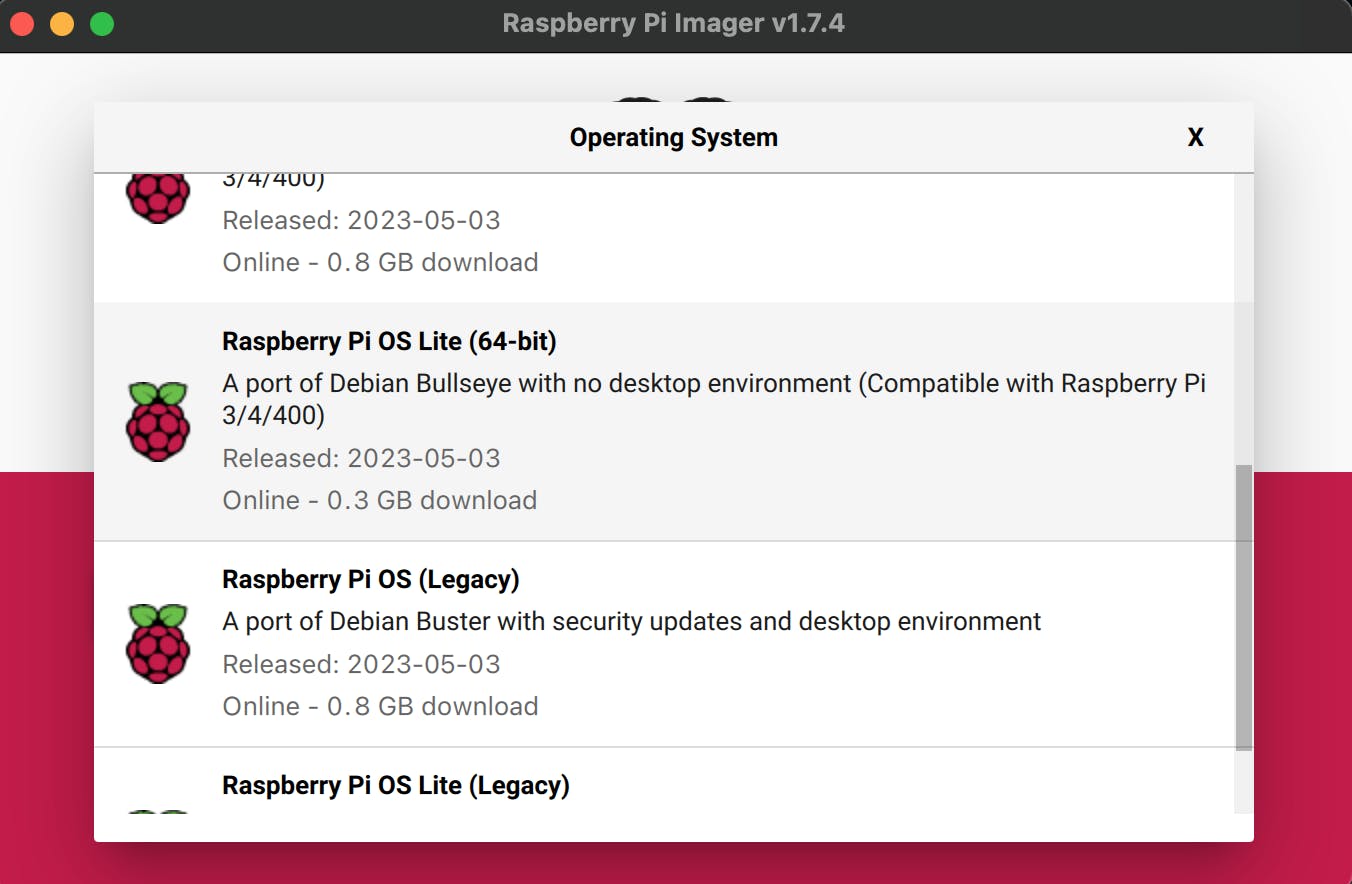
After completing the installation you'll be presented with the following screen:
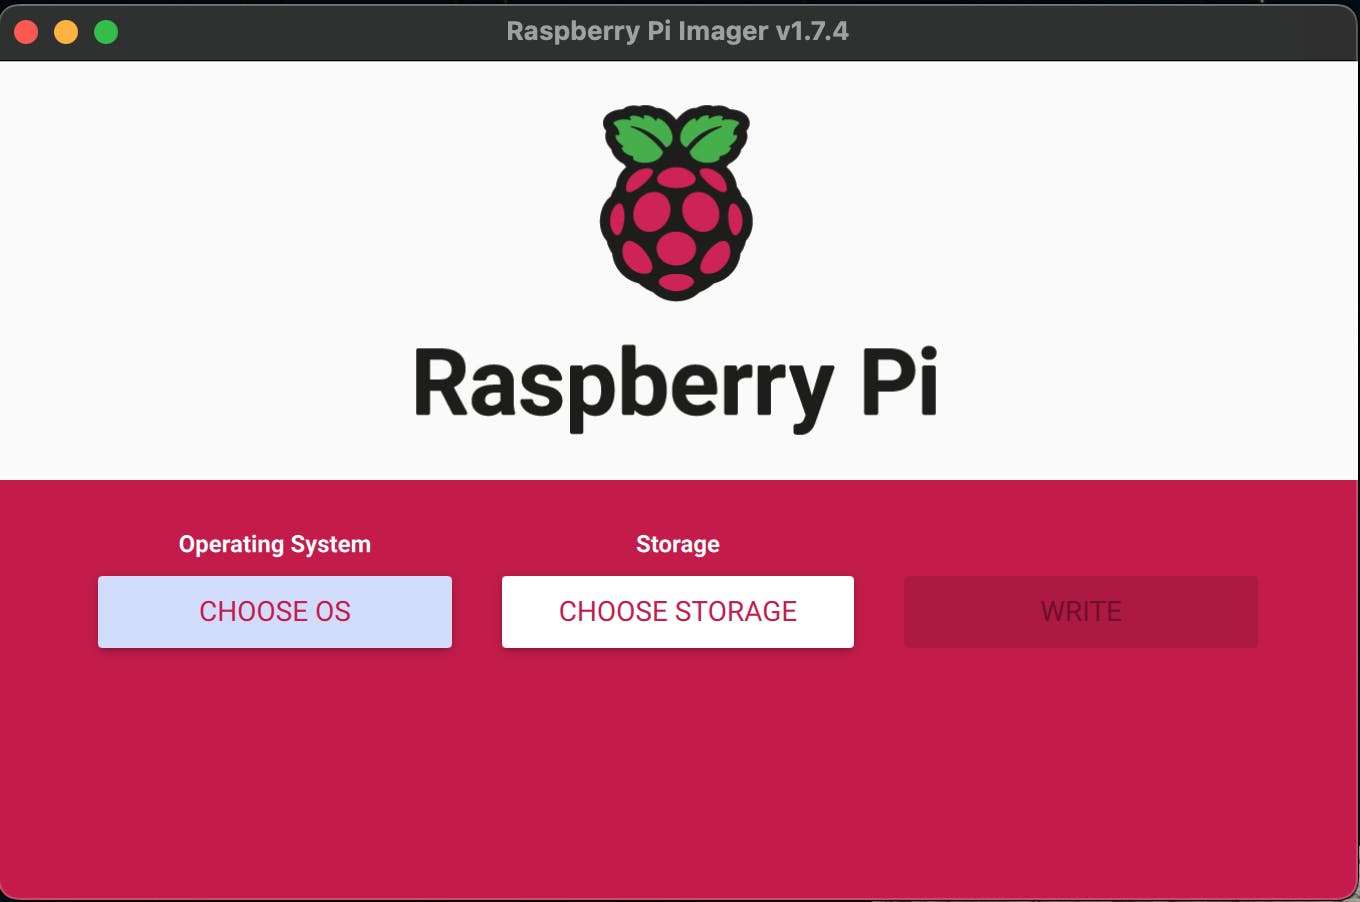
Select Raspberry Pi OS Lite (64-bit) for the installation
After selecting the OS, you'll have a settings icon presented. Configure the options as follows for the headless setup
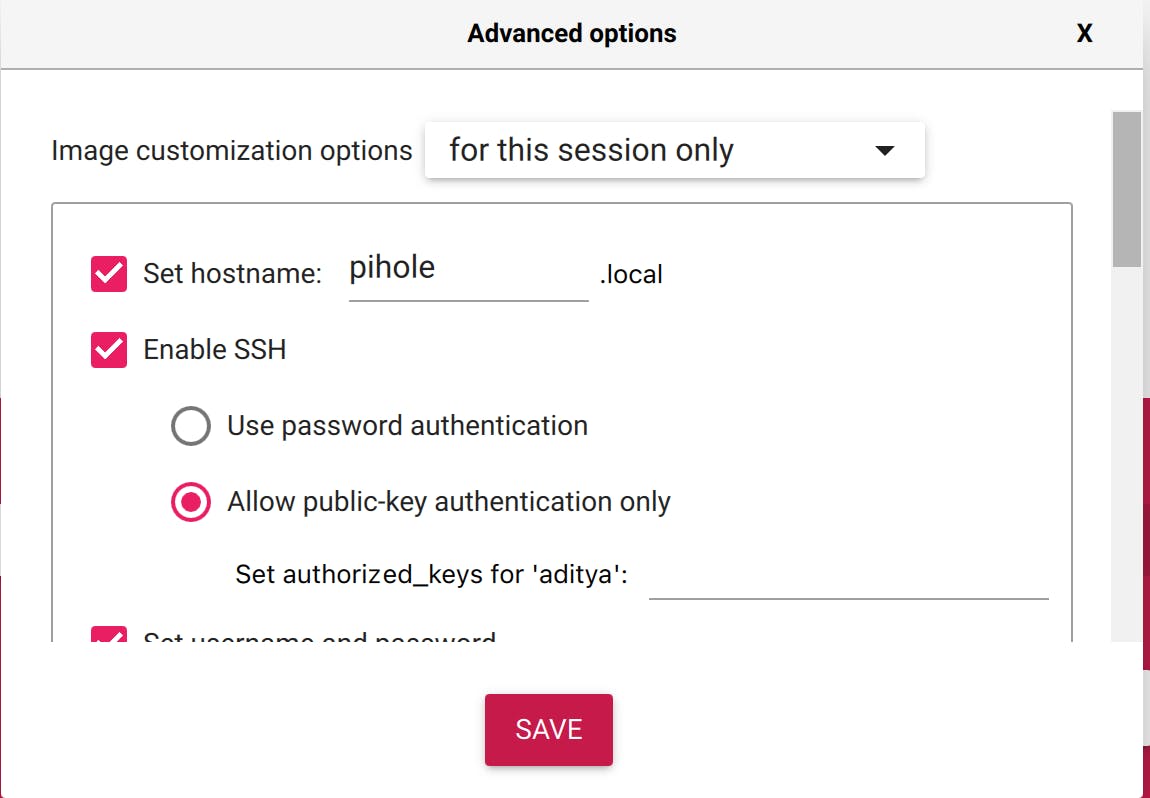
Select Enable SSH option
Select Allow public-key authentication only and add your public key in the provided field
(Optional) Set username and password in case of emergencies if you don't have your key pairs with you and you have to access your Pi
(Optional) Set your locale and time zone settings to have the time zone reflected accurately as per your region
Once you have your microSD card ready and plugged into your machine, select "Write" and the process will take around 1 hour (depending upon your write speeds)
Once the write is complete, remove the microSD card and insert it into your Pi. Also, plug in your LAN cable with your router such that you have the MAC address and the relevant IP record reflected in your router's DHCP table.
Once the card and cable are ready, power on your Pi (via Micro USB cable) and your PI is up and running.
Get your Pi's IP address by logging into your router's administration portal (the IP is usually 192.168.1.1) with the credentials (usually the default ones supplied with the router - change these once you log in!) and navigating to the LAN networking (in my case "Home Networking") section.
Now access your Pi with SSH as follows:
ssh <pi-username-at-time-of-installation>@<pi-static-ip-address>After accessing your Pi, perform a package update by running the following:
sudo apt-get update && apt-get upgrade -y
And your Raspberry Pi is all set for installing Pi-Hole!
Install & Configure Pi-Hole
Once you're ready with your Pi, perform the one script automated install by running the following (with a sudo prompt):curl -sSL https://install.pi-hole.net | bash
When running the script, you'll be shown a series of prompts as follows:
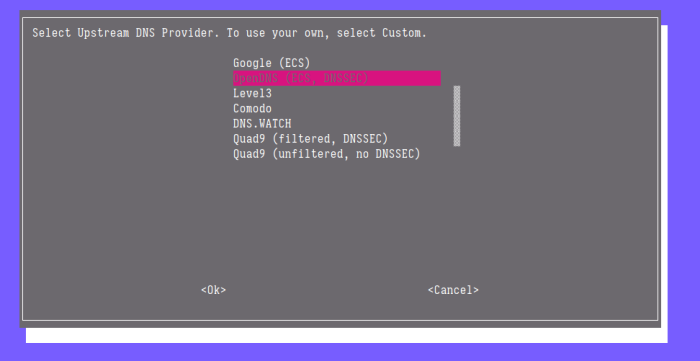
Select the upstream DNS server to use with Pi-Hole. This is the DNS server that will be used to resolve the domain if Pi-Hole doesn't have the record for it
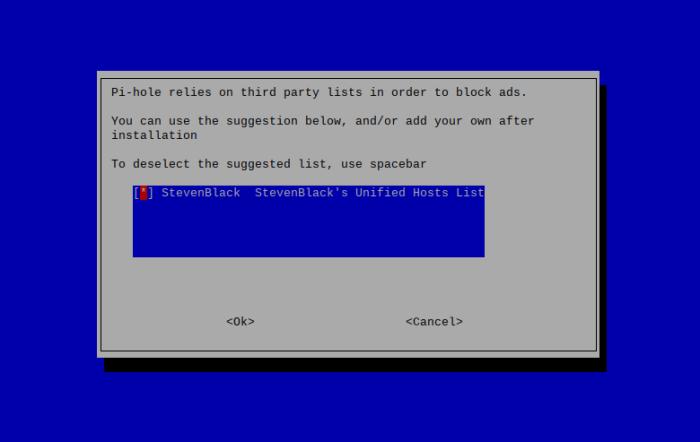
Since Pi-Hole relies on open-source DNS block lists, you'll be provided with a default block list of StevenBlack (link) to download from. For the time being, select the default and you can then customize it later per your preferences
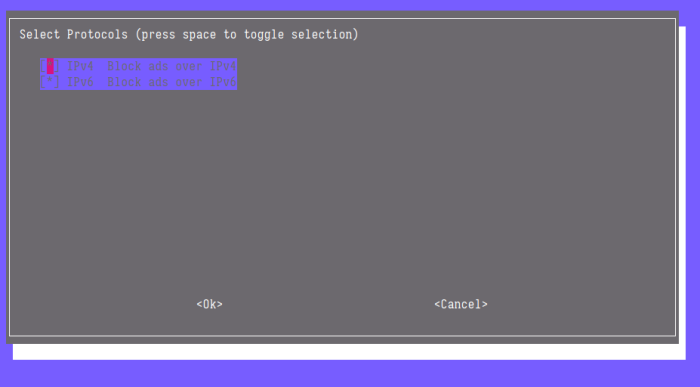
Pi-Hole can block ads for both IPv4 and IPv6 clients. Unless you have a specific reason to not block either of the traffic, keep the default option selected for both protocols.
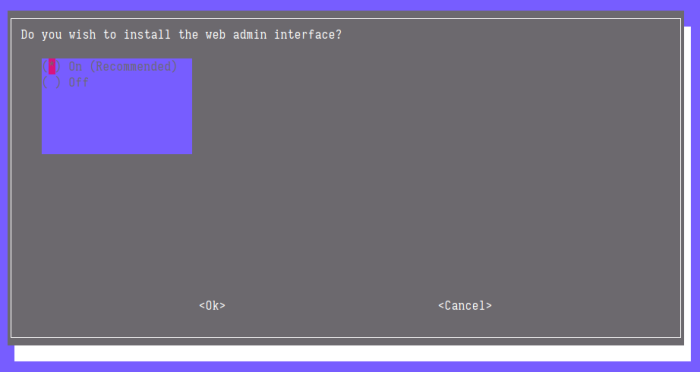
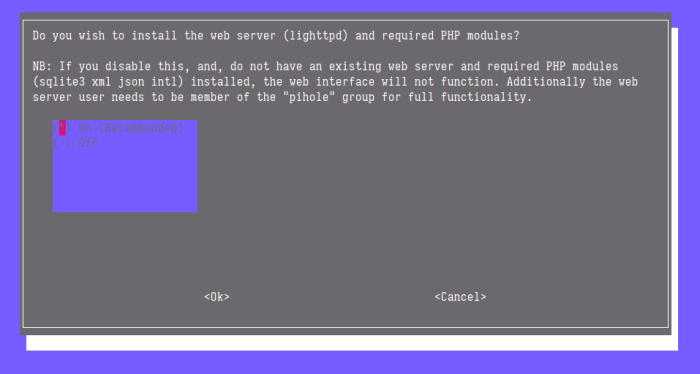
(Optional) Pi-Hole includes a web interface that you can enable to manage your Pi-Hole remotely. If you're comfortable with the command line you can keep this option disabled. The next screen will also ask to enable lighttpd and relevant PHP modules which will be needed to have the web UI functional.
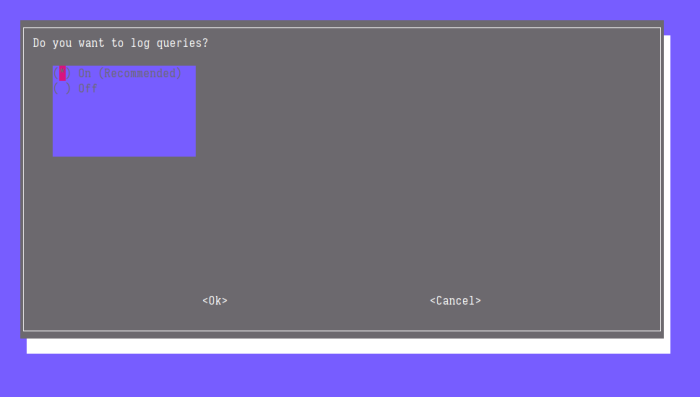
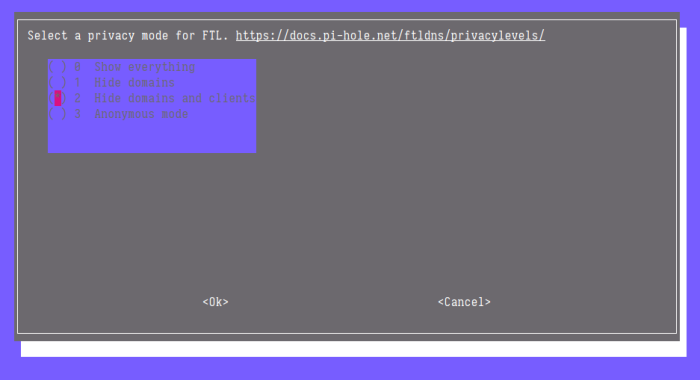
You can choose to log all queries answered by Pi-Hole and set a privacy level dictating which level of logs will be stored.
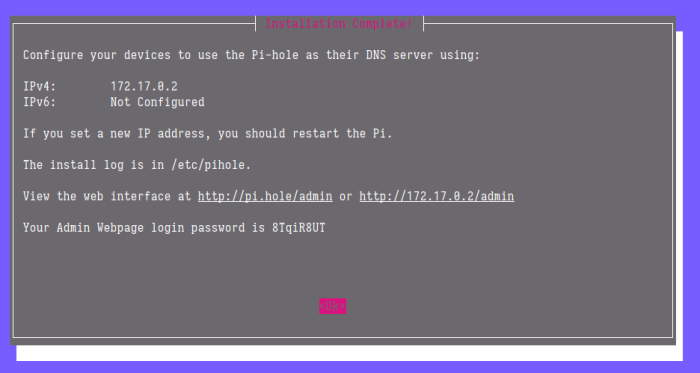
Once the installation is completed, you'll be shown the IP address of Pi-Hole as well as the admin login URL (if you've enabled remote management) and password. Make sure to note the password as you'll need it later
Once you've completed all the steps, your Pi-Hole installation is ready to filter DNS queries! Now we need to configure our router to use the Pi's IP address to resolve DNS queries.
Configure Router for Pi-Hole
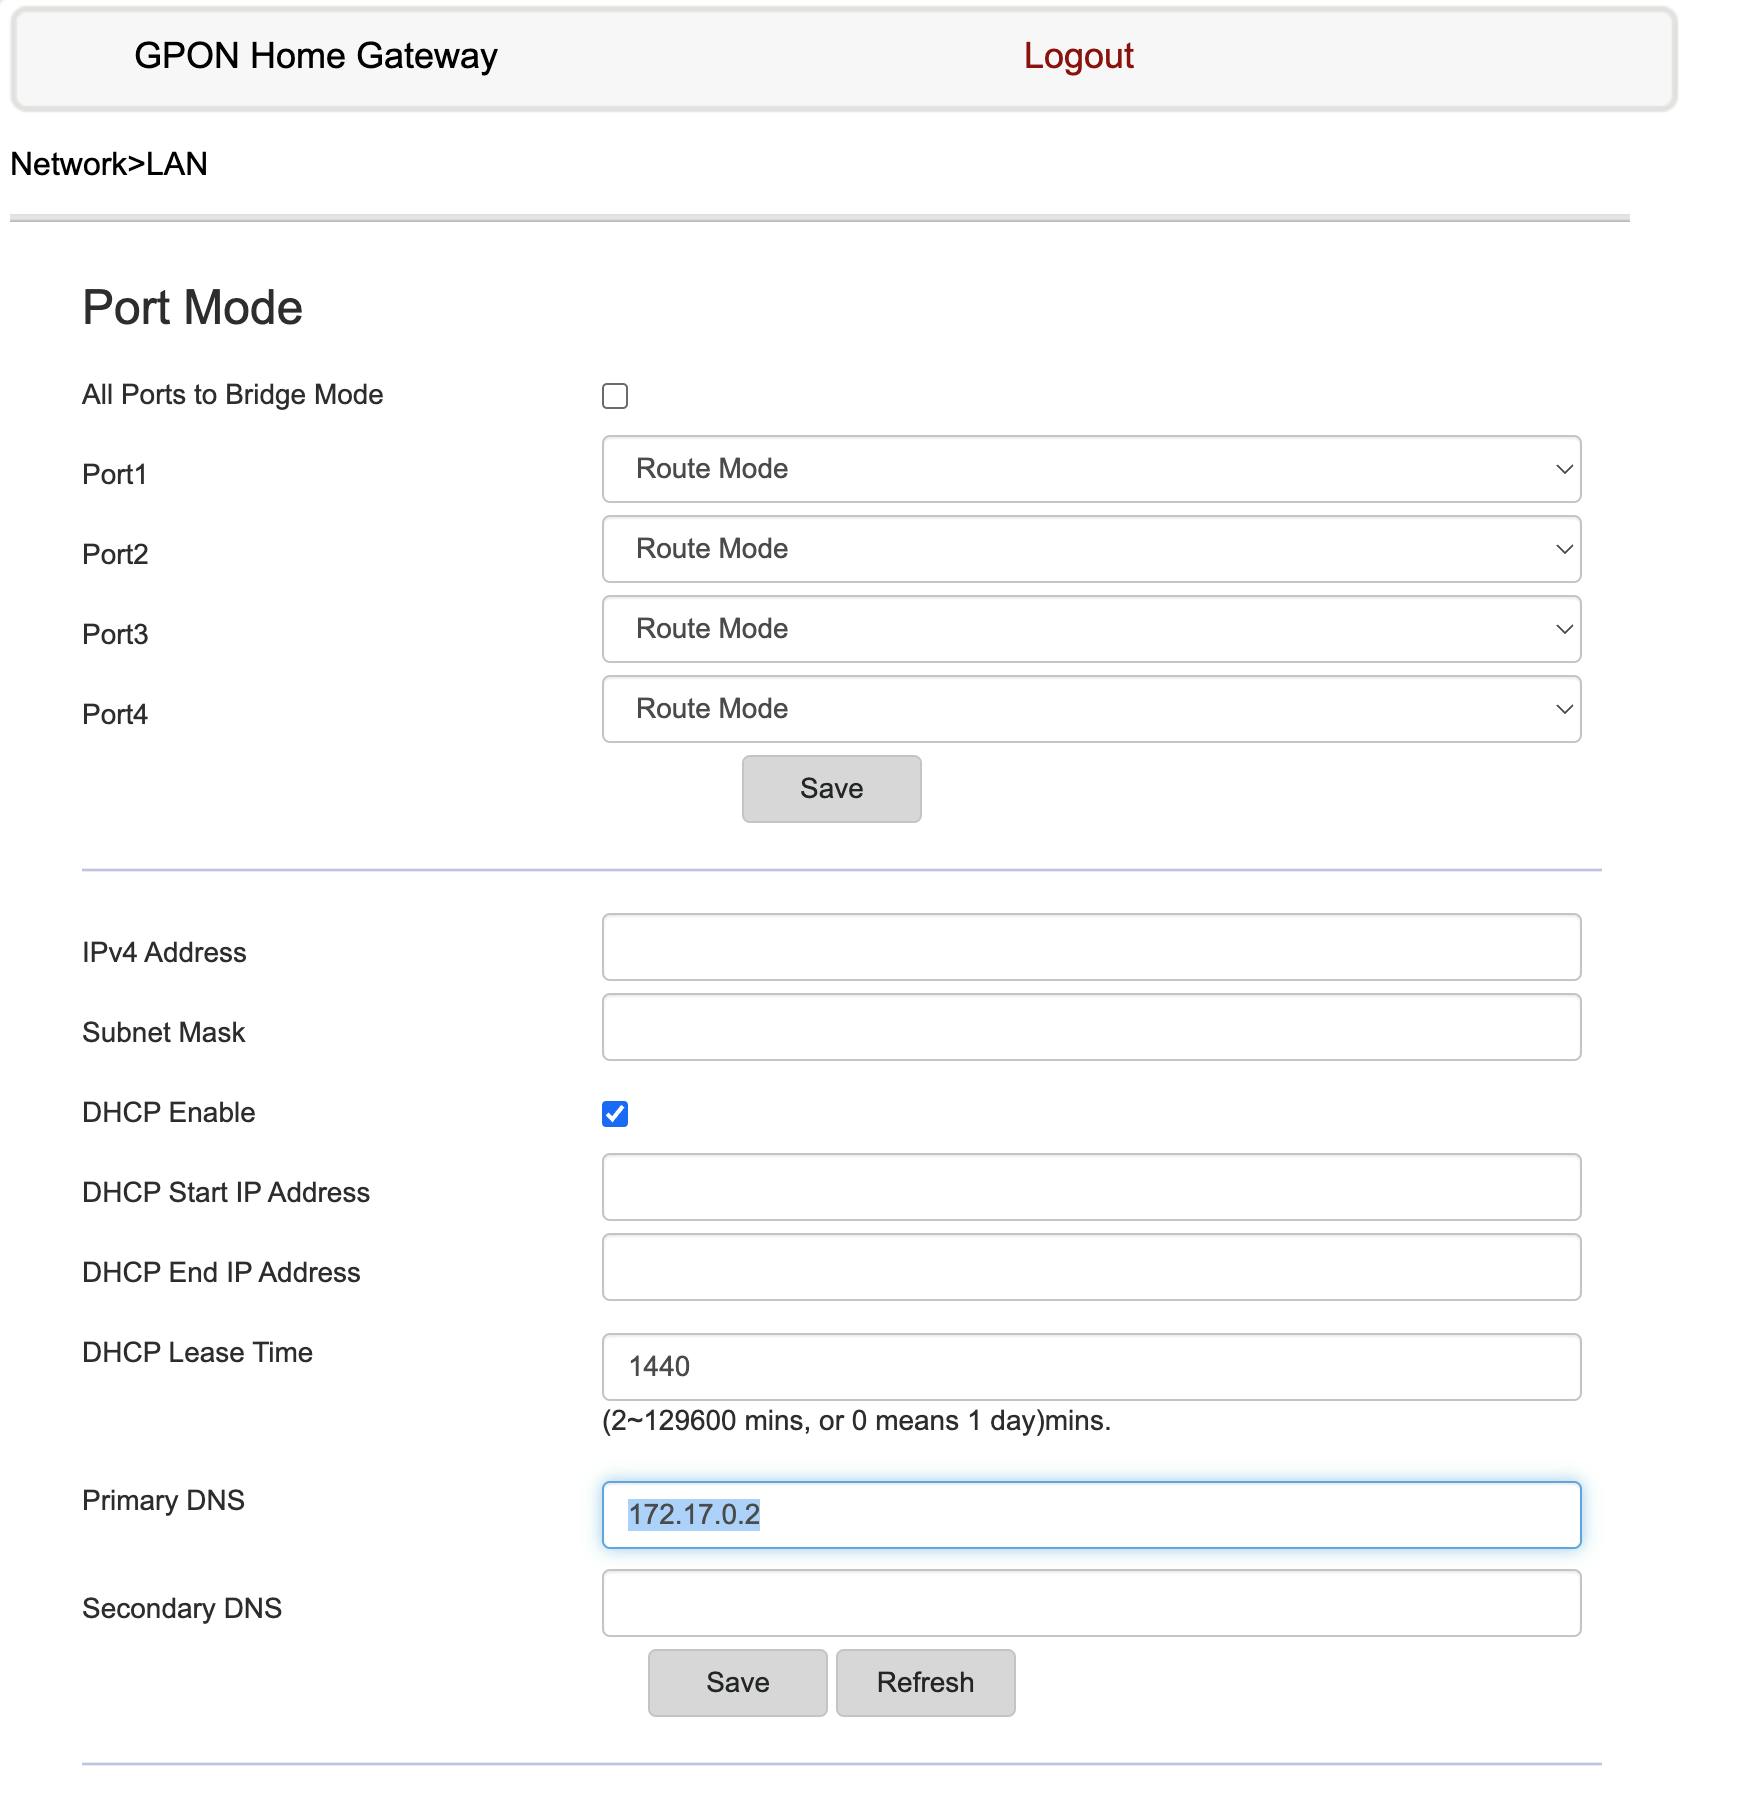
You'll need to go to your router's admin page (usually your network's gateway IP address) and log in with your credentials (try to use the default ones supplied with the router) and navigate to LAN settings (not WAN) and set the primary DNS server at LAN level to your Pi's static IP address (set earlier during Pi setup)
Once these settings are completed and saved, reboot your router to reflect the latest settings and client devices connected to the network start to use Pi-Hole for resolving DNS queries.
Pi-Hole Admin Page
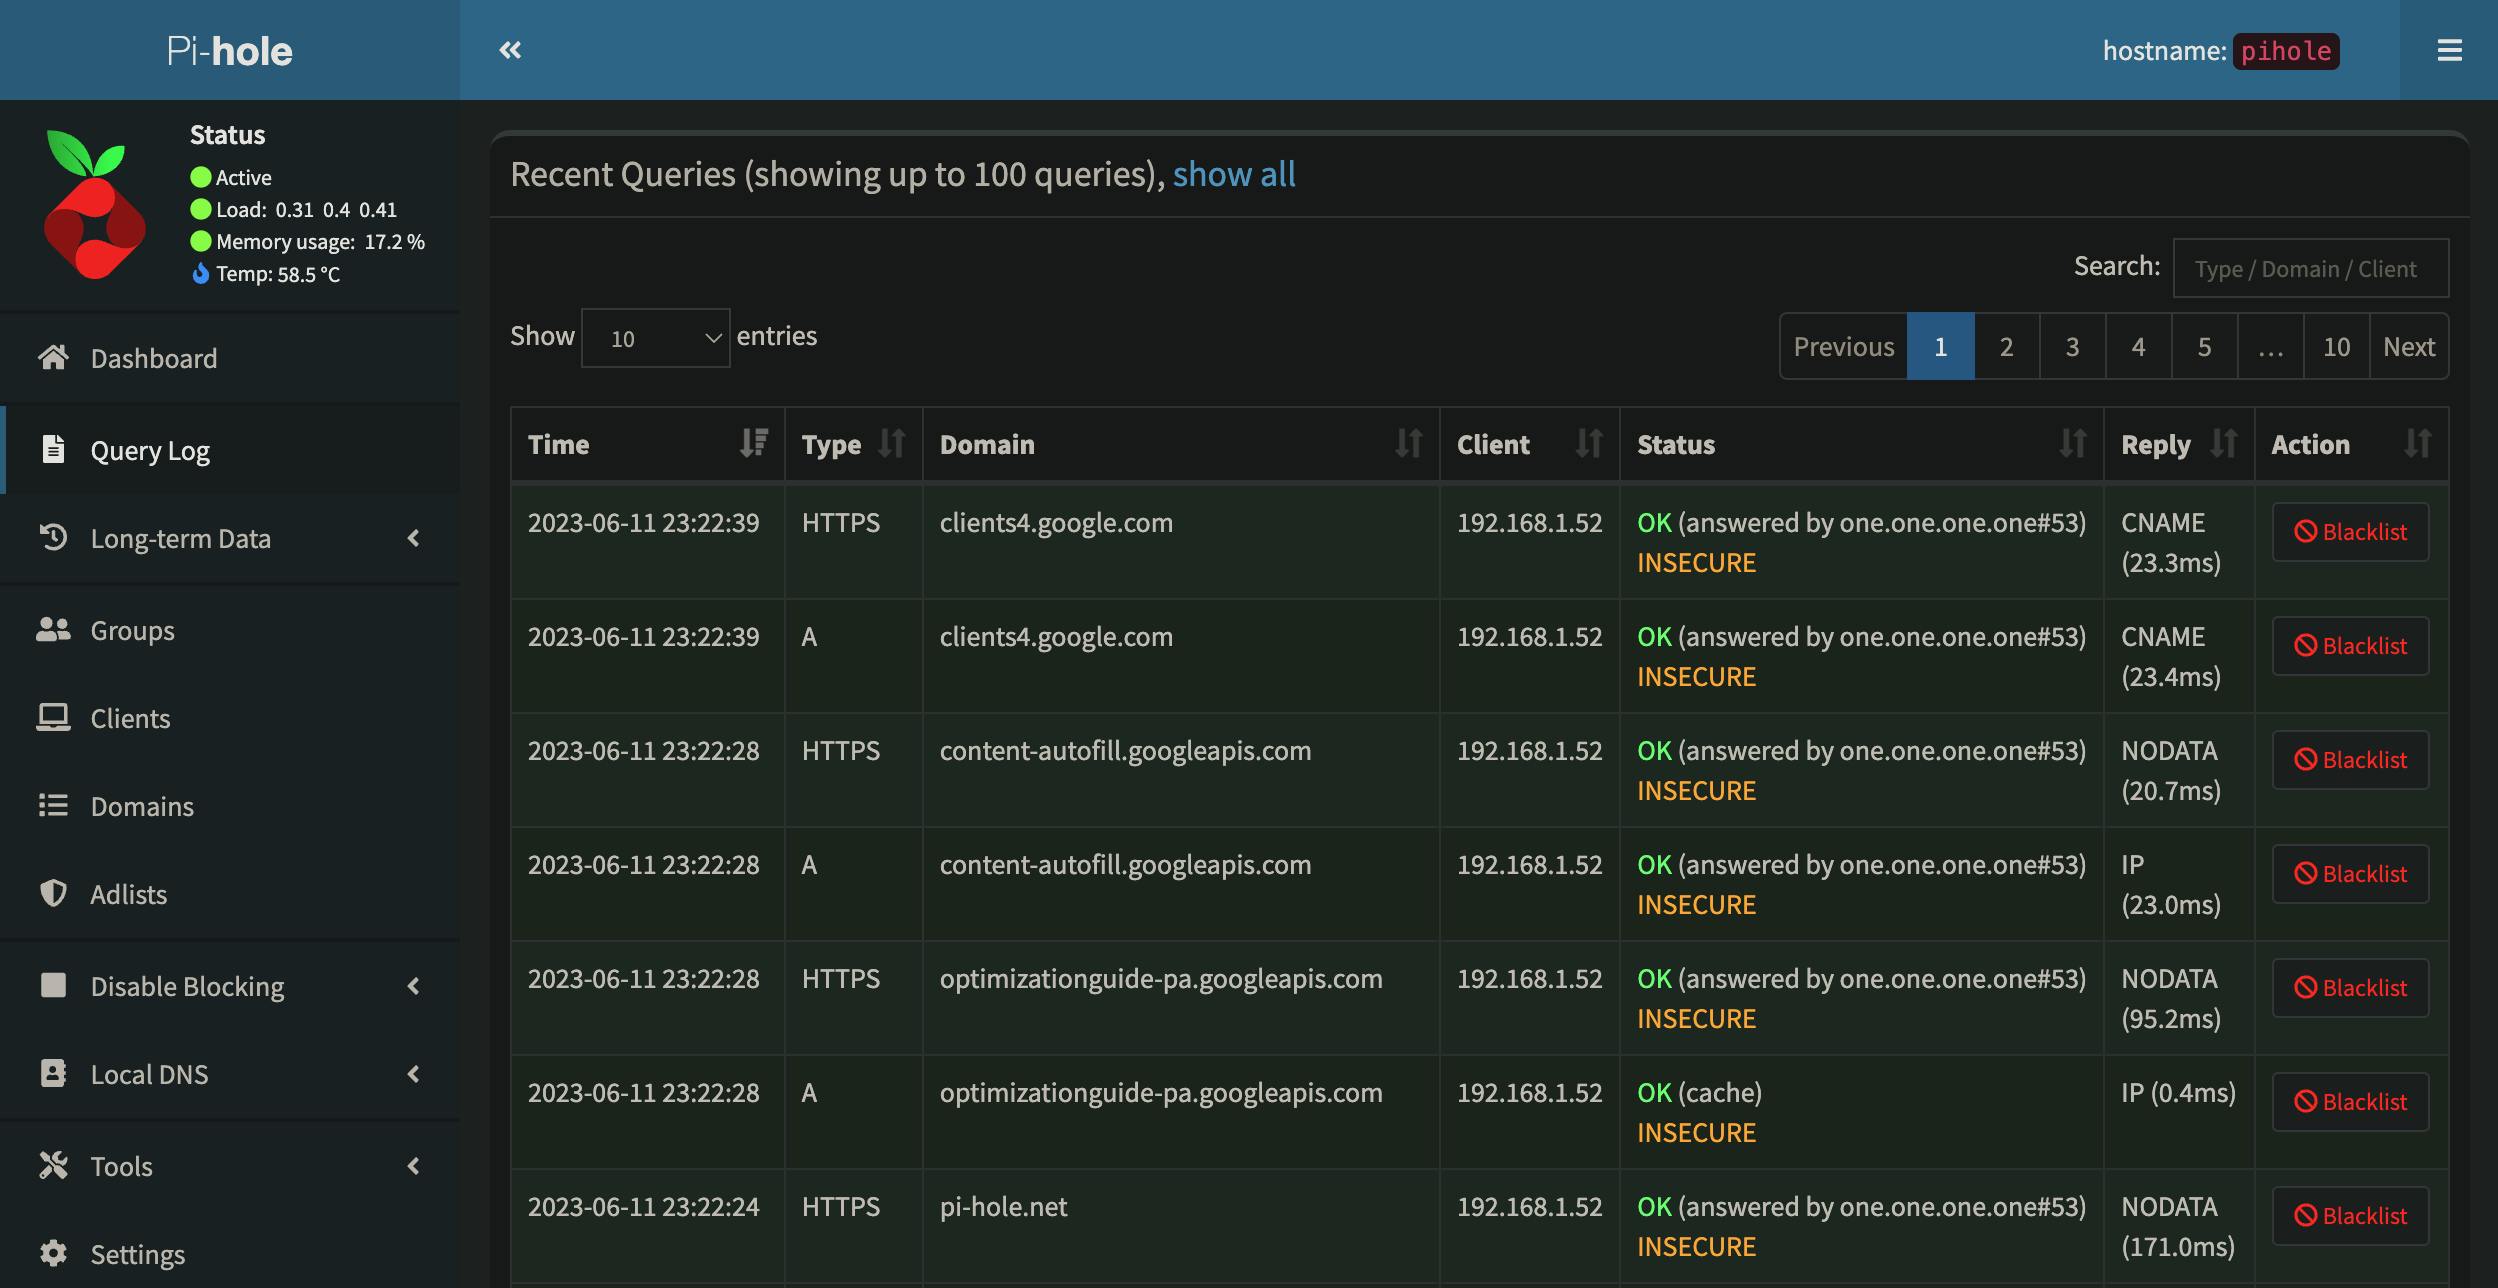
Once all the settings are configured, go to pi.hole/admin address in your browser to check out the admin page. Here's a screenshot of my installation's admin page.
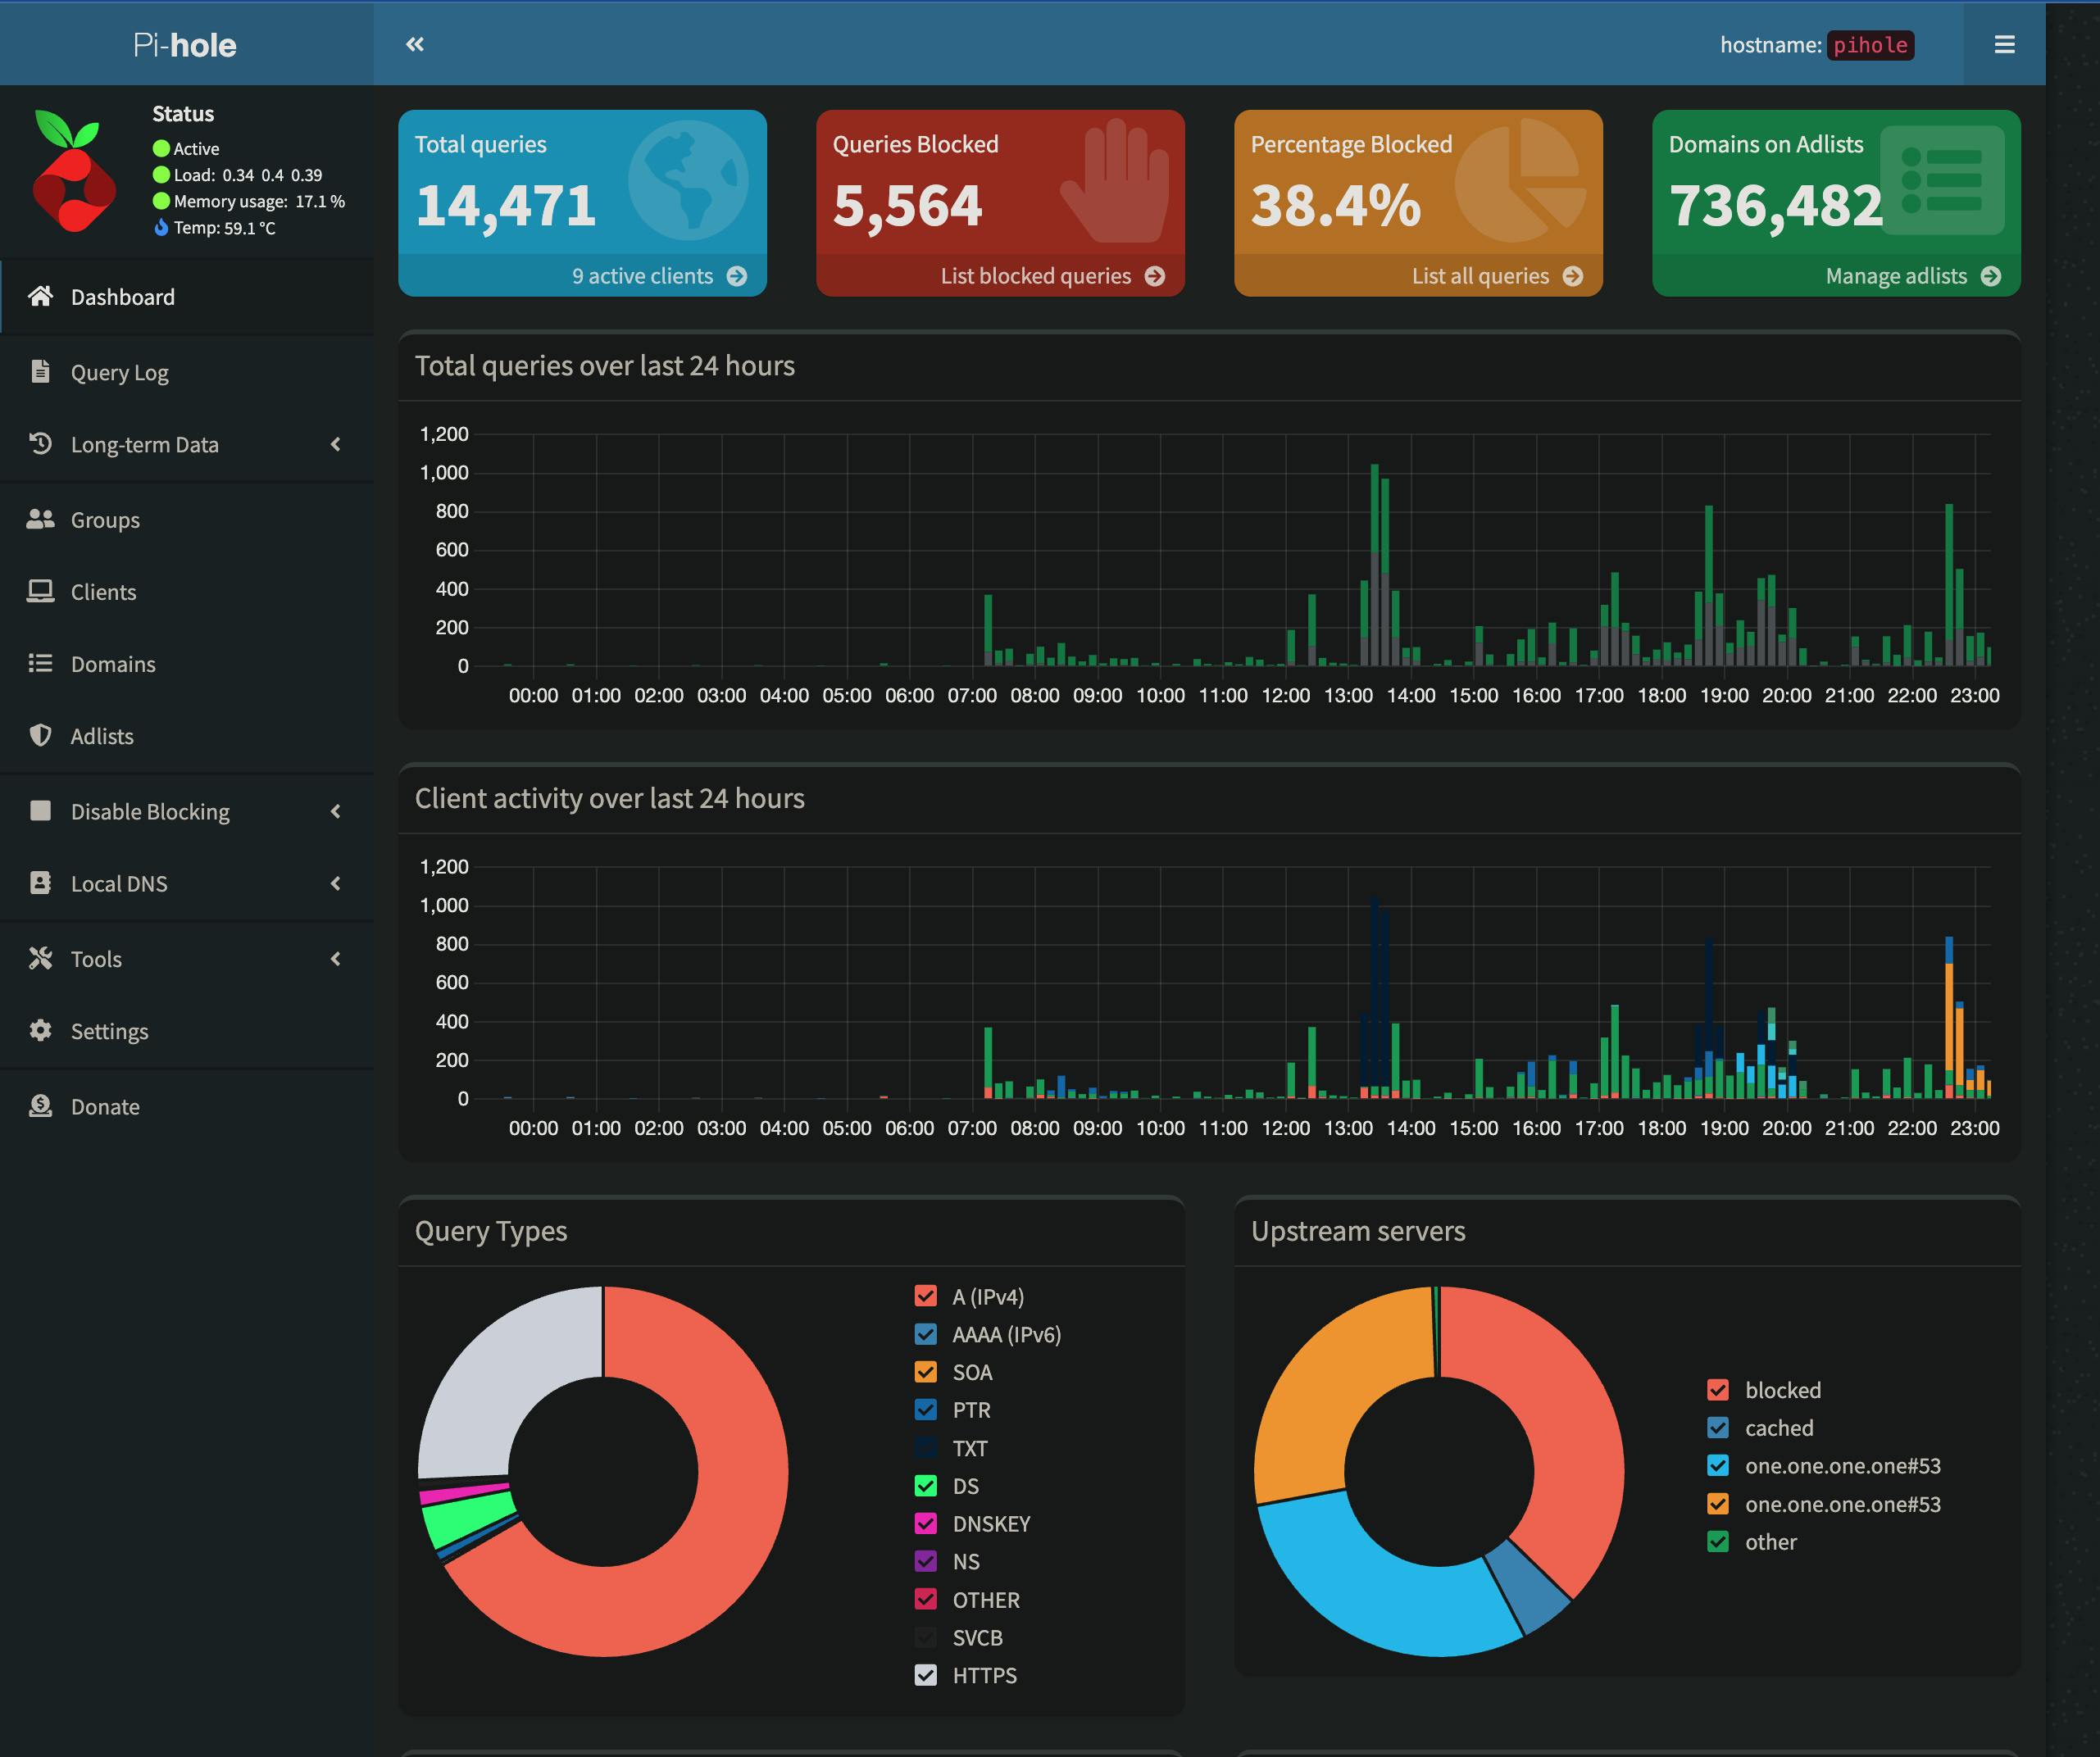
As you can see, I have a lot of traffic blocked (~38%) (!). I also have a lot of domains as a part of my blacklist including telemetry websites (looking at you Microsoft), scam websites etc. I can also have a local DNS resolution in case any of my test environments would like to have a nice-looking DNS.
I can also see the memory usage, Pi temperature, CPU loads etc. at a glance.
I can also see the query log in the admin console to see the query, its status, and which client queried it as well as to add it to my blacklist (if it's allowed) or whitelist (if it's blocked by mistake)
Bonus: My Setup
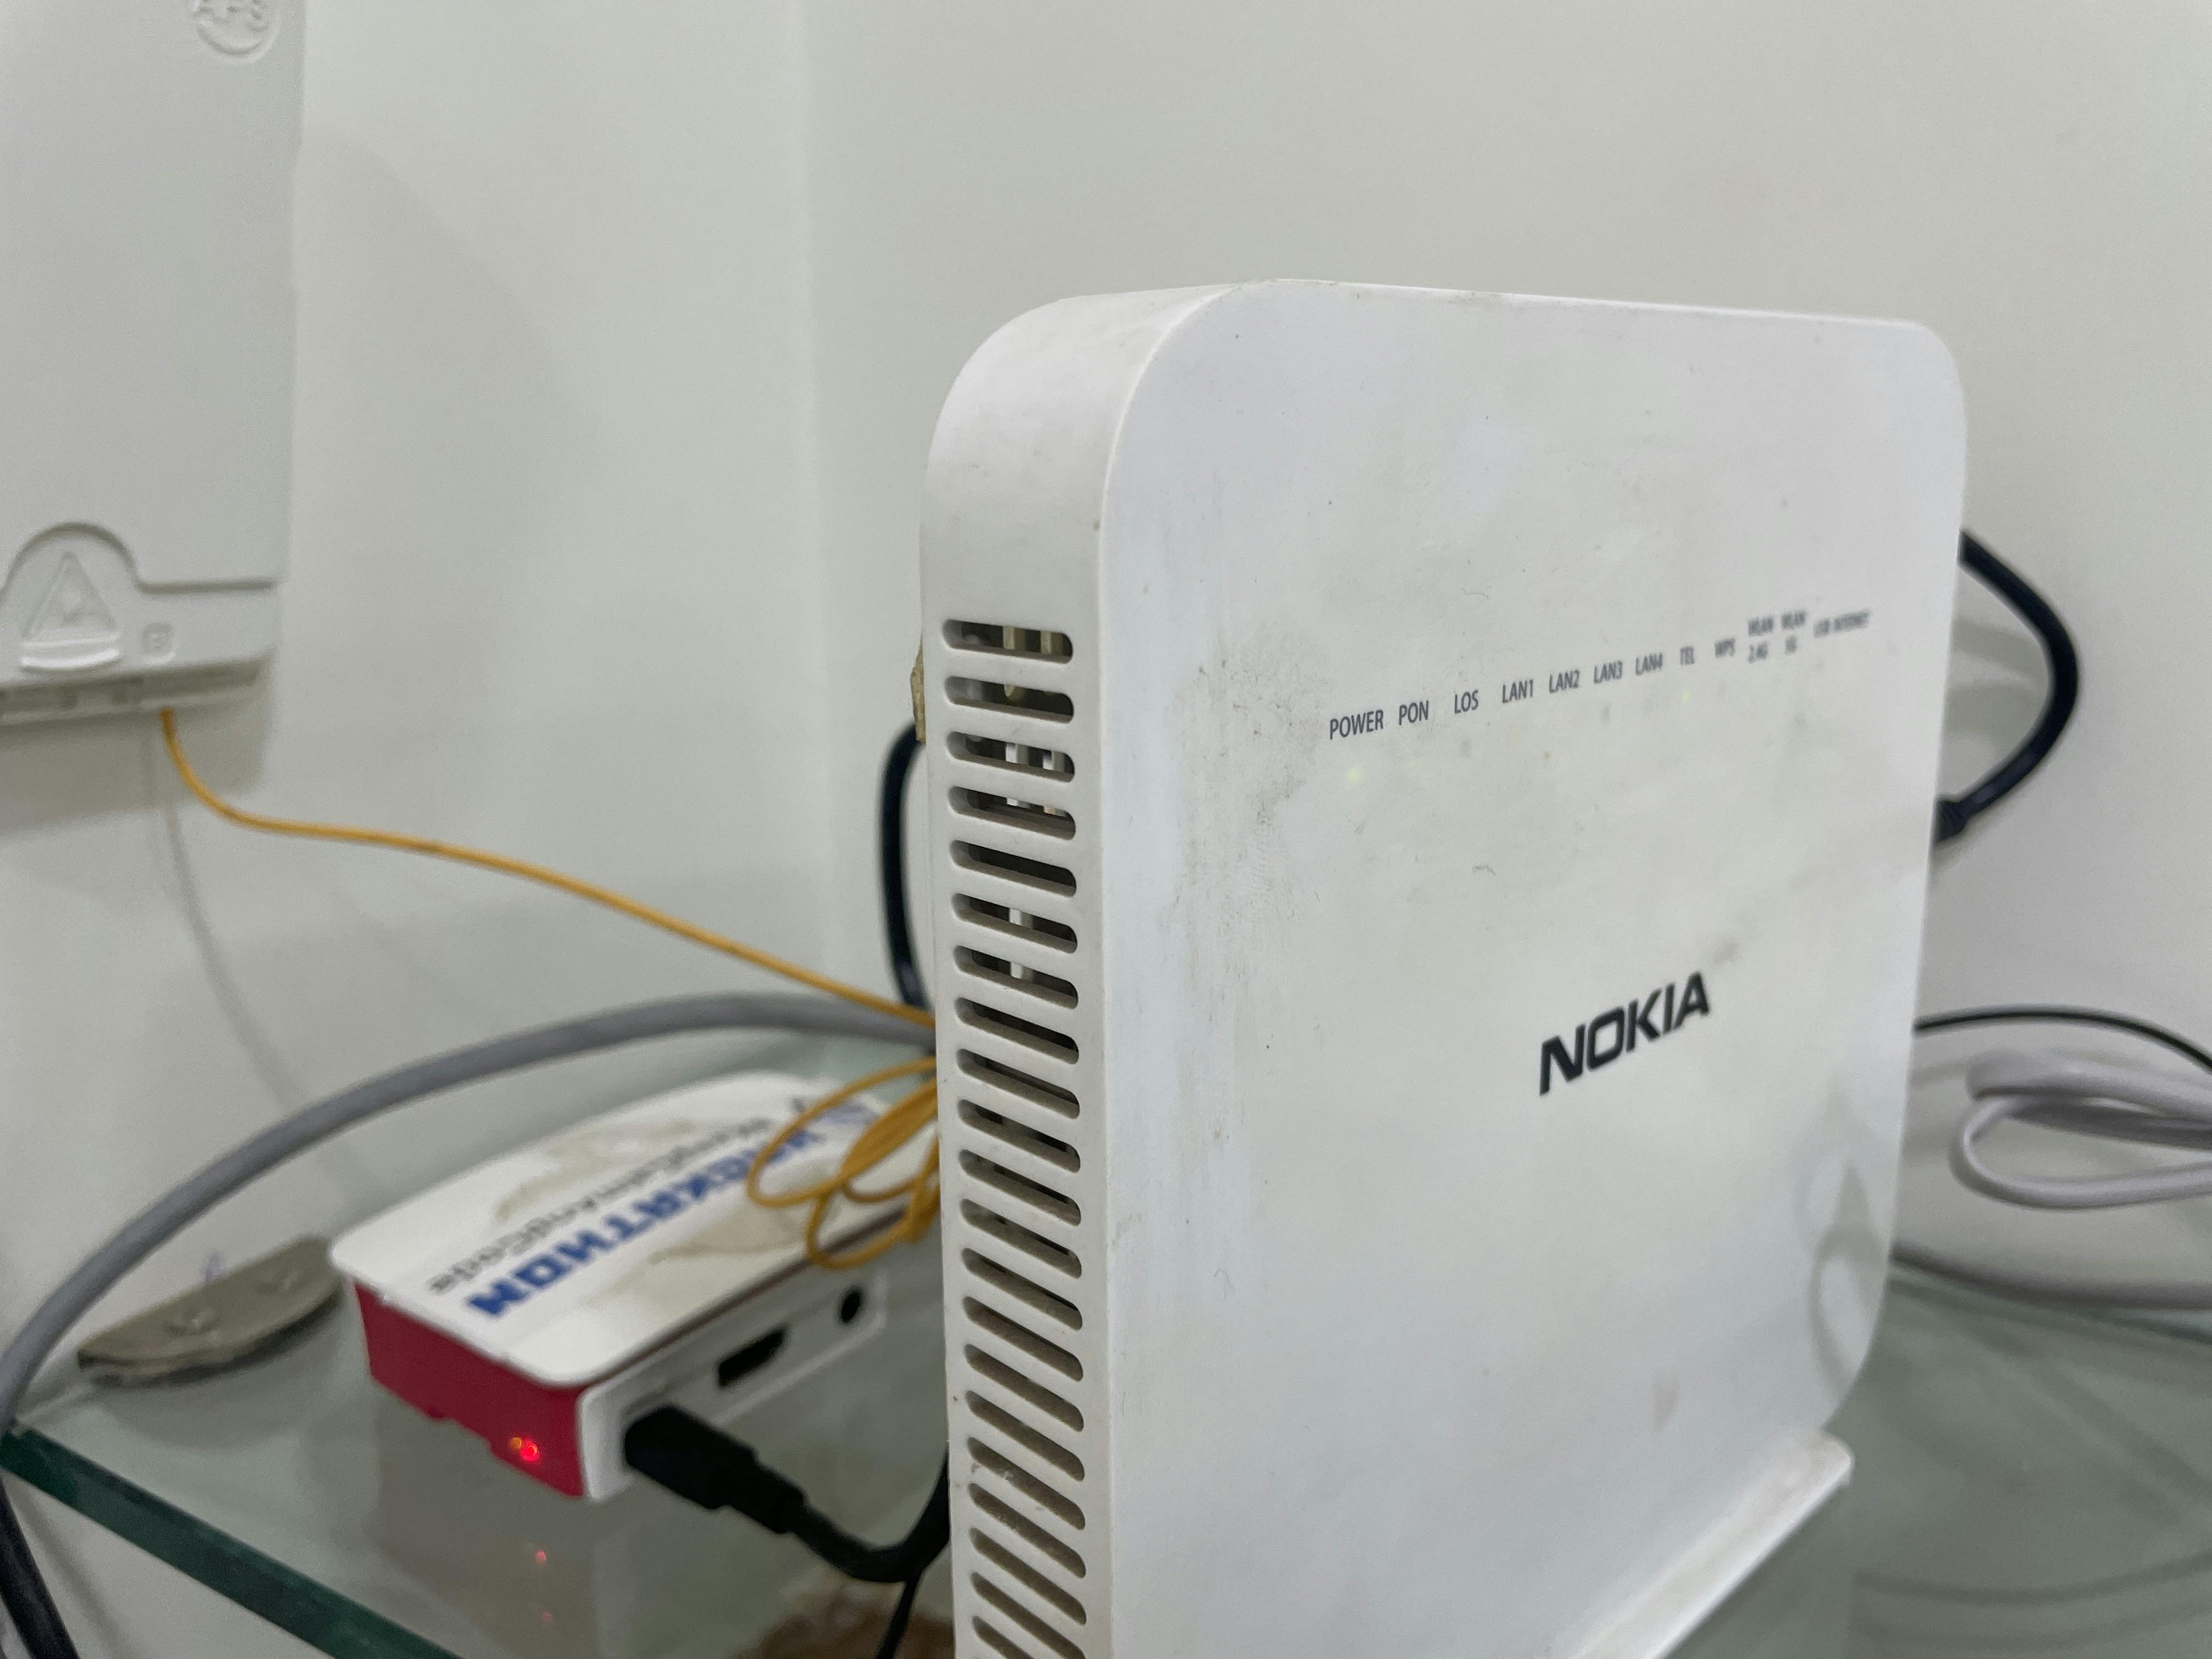
So my setup is pretty much basic and doesn't have any fancy cabling/placement.
It's self-contained i.e. the Pi is powered by my router's USB port
The ethernet cable to connect to the Pi is from one of my old routers and the micro USB cable is from my old BlackBerry charger.
The advantage I get from this setup is to have a single switch to power on the Pi and router.
Conclusion
With the above steps, you can configure your own Raspberry Pi (or any old laptop/computer for that matter) for blocking ads to have an ad-free experience for yourself and your family/friends.
Hope you've liked the above article and feel free to share this with your network if you've found this helpful.
Feel free to connect with me on LinkedIn as well.
Subscribe to my blog for more such content and my newsletter to get articles like this delivered straight to your inbox 😉